Taking care of investments can be tough, however washing and waxing a vehicle should never be. With these helpful tips, hopefully you can receive countless compliments on your automobile.
Completing proper car care doesn’t need to take all day. You can quickly and easily bathe your vehicle in an hour’s time without skipping corners or skimping on quality. All you must do is follow a couple simple steps.
Step 1: Assess and Gather
Before cleaning your car the weather needs to be checked. Working on a car in the direct sunlight and heat is not only uncomfortable but bad for your car. Allowing the soap and water to dry on the paint will diminish the glean and quality. It will also cause water marks and can even ruin the paint job. Be careful of harsh chemicals and soaps mixed with too much sunlight and heat. The best weather is typically before 11; the earlier the better. Cars can be cleaned at night, however, extreme heat can sometimes cause cars to take much longer to cool, even when it is dusk or dark. After checking the weather, gather your materials.
I suggest a couple key items:
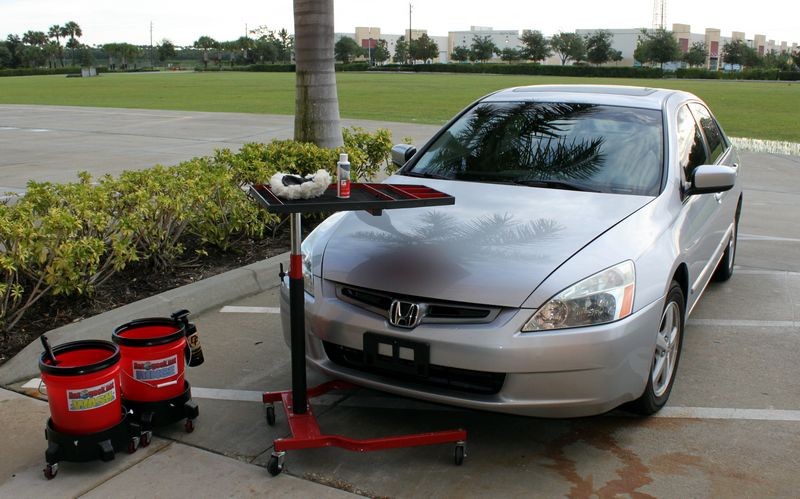
1 bottle of rim cleaner (make sure it is specific to your rims, whether they be powder coated or chrome – buying the wrong type can ruin your rims)
1 bottle of car wash shop
1 bottle of wax
1 tire brush
1 car brush or sponge
1 bucket
1 bottle of tire shine
A couple of shamis or something to dry the car with
Any brand of product essentially will perform, however I suggest brands like Maguire’s and Mothers. They create quality products that also last well in the summer months. Most of the products hold up very well in intense summer heat; these brands don’t run and streak as the day goes on. They can be purchased at any automotive store.
Step 2: Cleaning the Car
Spray the outside of the car with water to get rid of any topical dirt and grime reducing the possibility of scratching your paint while washing with the brush. Start by spraying your rims with the cleaner. Allow the spray to sit for about 30 seconds before you rub it in with a brush. Repeat for all four rims and clean off with the hose. After spraying the vehicle down, mix your car wash soap with water and spread over the car with your brush or sponge. Be thorough and take your time getting all parts of the vehicle. After the car is covered in soap spray it down leaving no traces of suds. Continue by drying the car and preparing for step 3.
Step 3: Waxing the Car
Take one of your Shamis and start at one end of the car. Use your wax and spread it on the Shami. Spread the product onto a small area. Once you buff in the wax (use a small circular motion), take a clean shami and wipe clean. I like to divide my vehicle into sections so I don’t miss any sections. I will typically divide each door into two halves, the trunk into a top and bottom, and my hood into four parts. Do not allow the wax to dry and make sure to consistently turn your clean shami to different sides. (If you use a waxy “clean” shami you will just be buffing in more wax).
Step 4: Finishing touches
If you want to go the extra mile, tire shine and Rain-X can quickly be applied. Take your last shami and apply tire shine to your tires. This will help accentuate the newfound shine of the rims, drawing attention and compliments to your vehicle. Lastly, Rain-X can be used on the windows to avoid any water streaking. This helps add a degree of safety while driving in rain because the water beads up the windshield better. Use a paper towel to quickly spread the product on.
Featured images:
- License: Creative Commons image source
This article was written by Josh McCarthy. Josh has been a car enthusiast for over 15 years, owning and working on many of his own in his free time. He has learned so much over the years of fiddling with his automobiles that he has been contributing content to Linear Automotive for the past several months when he has the free time.


