Seal coating isn’t exactly rocket science, but we need to have proper preparation to do this. This will involve some manual labor, common sense and a few basic tools. In this case, we need to do this efficiently and neatly. There are some tools that we need to prepare:
- Safety gears: We need to prepare proper safety gears, such as glasses and plastic shield protector; preferably the full-face model. Safety gears are not an option and safety must be the number one rule. It would hurt like hell if we are hit by flying debris on the face.
- Push broom: We should choose a stiffer model, especially the wire street broom one
- Leaf blower to clean up small debris
- A 2-inch of masking tape roll
- Metal paint stirring paddles. It can be fitted into the power drill. For added traction, fine silica sand can be added to the seal coating material for improved traction.
- Professional grade 24-inch seal coating brush. When we use this, the coat sealing task can be much more efficient and easier to do. To reach cramped spaces, we can use paint brush.
It is also important to wear sneakers, because we will walk to the treated surface as we spread the seal out. When we leave the area, we can shuffle our feet on sand.
We can begin by using the weed trimmer to remove all vegetation growth along the whole perimeter. There should be no overhanging grass above the driveway’s surface edge. Trimmer can also be used to clean up garage doors and stone walls.
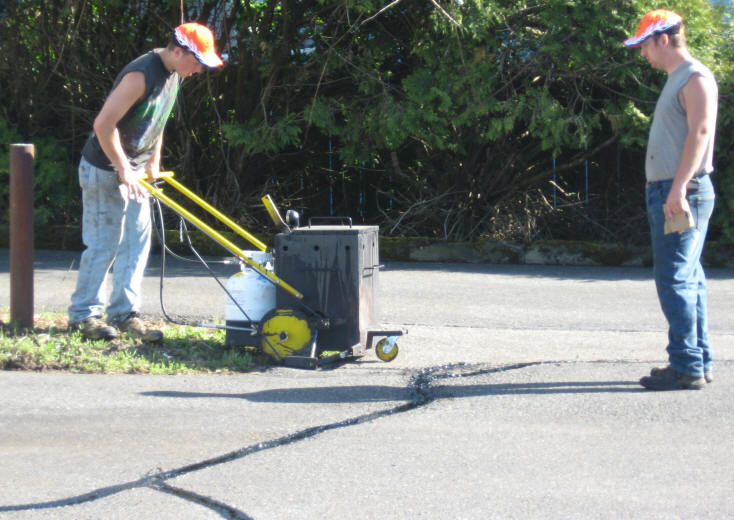
If we hold the trimmer upside down, we could get a sharper-looking trim. We should check the area for cracks, which will eventually occur; due to repeated thawing and freezing cycles. Hot-melted rubber can be used for this purpose, but can be difficult for many homeowners to use. In order to improve the texture and color; we could sprinkle some fine sand on cracks that have been filled with hot rubber. This is something that we need to do before performing the seal coating. The next step is to prepare the materials and this could get messy. We will need some large-sized buckets and we will need to stir the sealant material, depending on the brand and how it has been stored by the seller. It may take some experiment to determine the right consistency.
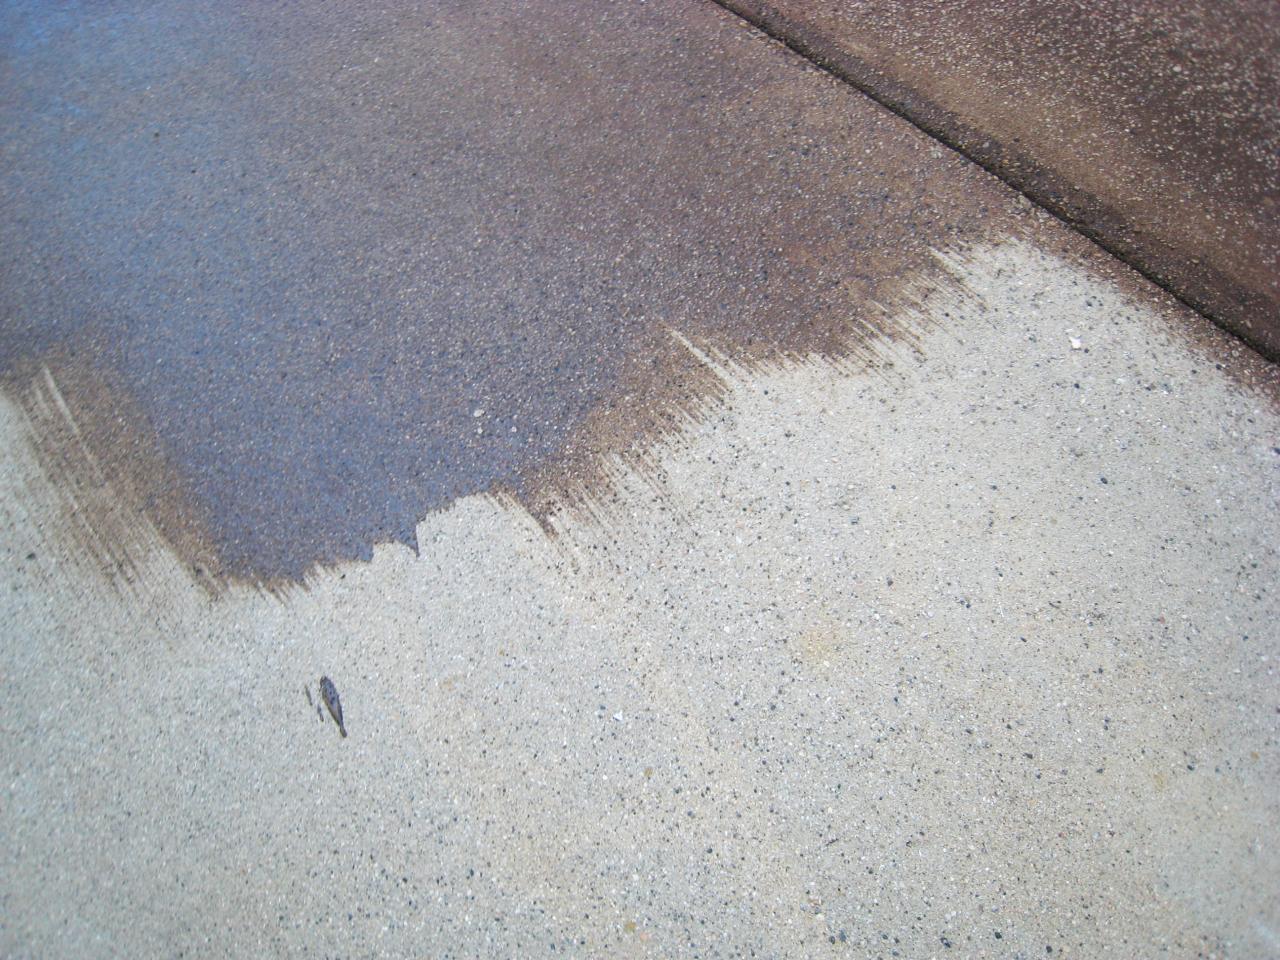
Once the material has been properly mixed, we should start to pour it out. We can evenly spread out the material across the driveway. At the initial stage, we don’t have to worry about the amount that we should pour. In fact, with just one passing; we can dump the entire bucket. However, to minimize splatter, we should hold the bucket low in front of us, as we move it from one side to another. We need to play it safe and don’t pour the material near the edge of the area. The next is to use the brush to smooth out the surface. At this stage, we often need to walk on the surface, so we will need to step gently to avoid causing splatter and plopping into the material.


